Essential Equipment for Nighttime Photography: Tips and Tricks


Essential Equipment for Nighttime Photography: Tips and Tricks
Nighttime photography offers a unique opportunity to capture stunning visuals that are often overlooked during the day. Whether you're aiming to photograph the Milky Way, explore astrophotography, or capture the serene beauty of nature under the stars, having the right camera gear is crucial. Here’s a breakdown of the essential equipment needed for successful night photography, along with tips and tricks to enhance your shooting experience.
1. Choosing the Right Camera
The first step in preparing for nighttime photography is selecting the right camera. Ideally, you want a camera that performs well in low light conditions. DSLR and mirrorless cameras are popular choices because they typically have larger sensors and better noise control compared to point-and-shoot cameras. Look for models with high ISO capabilities and good dynamic range.
2. Lenses Matter
Your lens is just as important as your camera body. For night photography, wide-angle lenses are favored as they allow you to capture more of the night sky. A lens with a large aperture (f/2.8 or lower) is essential for gathering enough light. Popular choices include:
- 14mm f/2.8 for wide vistas of the Milky Way
- 24mm f/1.4 for capturing details in the sky
- 35mm f/1.8 for versatility in both landscape and astrophotography settings
3. Tripod Stability
A sturdy tripod is a must-have for nighttime photography. Long exposure times are common when shooting in low light, making it essential to keep your camera stable. Look for a tripod that is lightweight yet durable, and practice setting it up quickly in the dark.
4. Remote Shutter Release
To avoid camera shake when taking long exposures, consider using a remote shutter release or the camera’s timer function. This small piece of equipment can greatly improve your image quality by preventing any movement while the shutter is open.
5. Essential Accessories
While the main camera gear is crucial, don’t overlook these additional accessories:
- Flashlight: A headlamp or flashlight helps you navigate and set up your gear in the dark. Opt for a red light to preserve your night vision.
- Extra Batteries: Cold weather can drain batteries quickly, so always bring extras.
- Memory Cards: Nighttime shots can require multiple exposures; having extra storage ensures you won’t run out of space.
6. Techniques for Night Photography
Once you have your equipment ready, it’s time to focus on techniques:
- Use Manual Mode: Control your exposure settings. Start with a low ISO (800-3200), a wide aperture, and long exposure times (between 15-30 seconds).
- Focus on Infinity: In low light, autofocus may struggle. Switch to manual focus and set your lens to infinity.
- Bracketing: Take multiple exposures at different settings to ensure you capture the perfect shot. This technique is particularly useful for astrophotography.
7. Locations for Night Photography
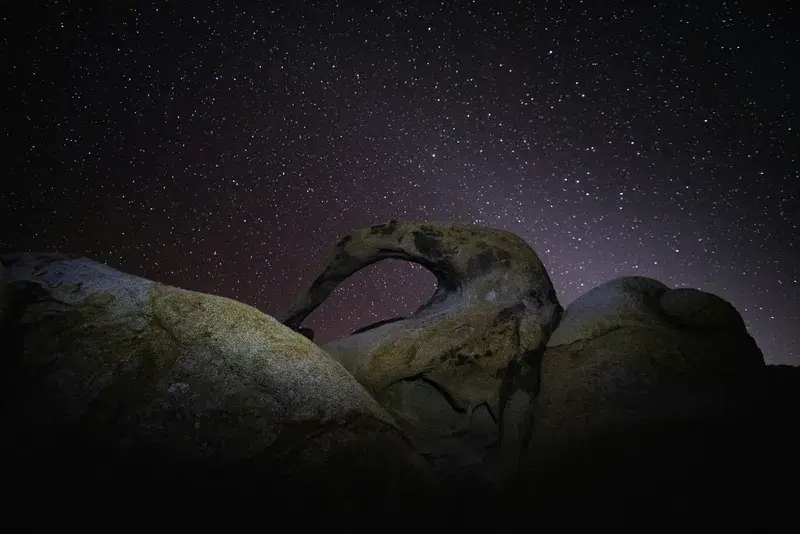
When searching for great spots, consider places with minimal light pollution. National parks, rural areas, or open fields away from city lights are ideal. Look for interesting foreground elements, such as rocks or trees, to add depth to your photos. One stunning example is the Delicate Arches during nighttime, where the natural rock formations beautifully contrast against the starry sky.
Conclusion
Successful night photography requires planning and the right camera gear. Embrace the challenge of shooting in low light, and don’t forget to experiment with different techniques. With the right equipment, you’ll be able to capture breathtaking images of the Milky Way, serene landscapes, and unique moments in nature. Happy shooting!