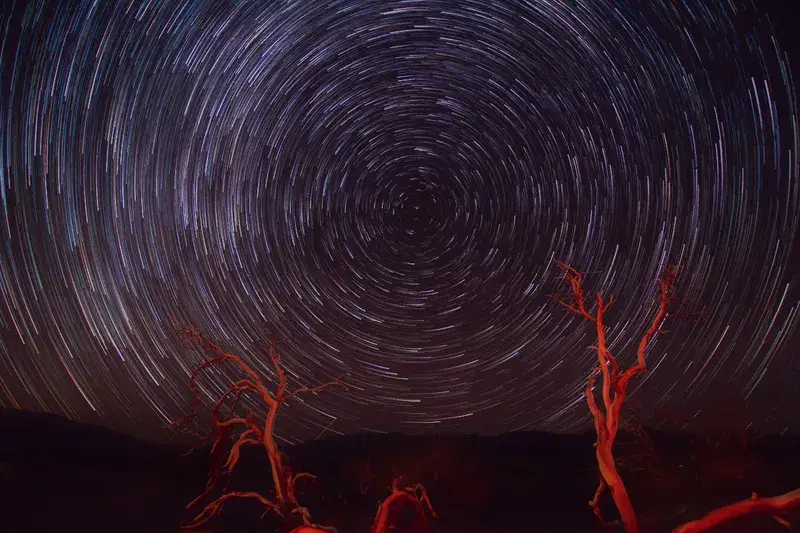
Capturing the Cosmos: Tips for Night Photography in Death Valley


Capturing the Cosmos: Tips for Night Photography in Death Valley
Death Valley is not only known for its stunning landscapes but also for its breathtaking night skies. Night photography in this remote desert offers a unique opportunity to capture the cosmos in all its glory. With minimal light pollution and clear skies, Death Valley is an ideal location for star photography. If you're ready to take your photography to the next level, here are some essential tips and techniques for capturing the stars amidst the vast desert.
1. Gear Up for the Night
Before you embark on your night photography journey, ensure that you have the right equipment. Here’s a checklist:
- Camera: A DSLR or mirrorless camera that allows manual settings.
- Lens: A fast lens (f/2.8 or wider) will help capture more light.
- Tripod: A sturdy tripod is essential for long exposures.
- Remote shutter release: This prevents camera shake during long exposures.
- Headlamp: A red light is preferable to preserve your night vision.
2. Understand Camera Techniques
Mastering the right camera techniques can make a significant difference in your results. Here are some key settings to consider:
- Manual Mode: Switch your camera to manual mode to control aperture, shutter speed, and ISO independently.
- Aperture: Use a wide aperture (f/2.8 or wider) to allow more light into your sensor.
- ISO: Start with an ISO setting between 1600 and 3200. Experiment to find the best balance between brightness and noise.
- Shutter Speed: For star photography, use longer exposures (15-30 seconds) to capture more light without trailing stars. However, keep in mind the '500 rule' to avoid star trails: Divide 500 by your lens’s focal length to determine the maximum exposure time in seconds.
3. Compose Your Shot
Composition is key in night photography. Look for interesting foreground elements like unique rock formations or desert plants to add depth to your images. The starry night digital wallpaper effect can be achieved by including the Milky Way in your composition. Here are some tips:
- Use Leading Lines: Pathways or natural lines can guide the viewer's eye through your photograph.
- Rule of Thirds: Position the horizon or Milky Way along the grid lines to create a balanced composition.
- Include a Subject: Silhouettes of cacti or mountains can add intrigue to your shots.
4. Timing is Everything
The best time for star photography in Death Valley is during a new moon when the skies are darkest. Check astronomical calendars for optimal viewing conditions and be aware of weather forecasts to avoid clouds. Arrive early to set up and scout your location before nightfall.
5. Post-Processing Your Images
Once you've captured the cosmos, it’s time for post-processing. Software like Adobe Lightroom or Photoshop can help enhance your images. Here are some editing tips:
- Adjust Exposure: Brighten your image if necessary, but be cautious of increasing noise.
- Enhance Colors: Boosting the vibrancy can make the night sky pop.
- Reduce Noise: Use noise reduction tools to clean up your images without losing detail.
Conclusion
Capturing the night sky in Death Valley is a rewarding experience that requires the right tools, techniques, and patience. By using the right camera techniques, preparing properly, and embracing the beauty of the cosmos, you can create stunning images that showcase the magic of the universe. So grab your gear, head out into the desert, and let the stars guide your lens!